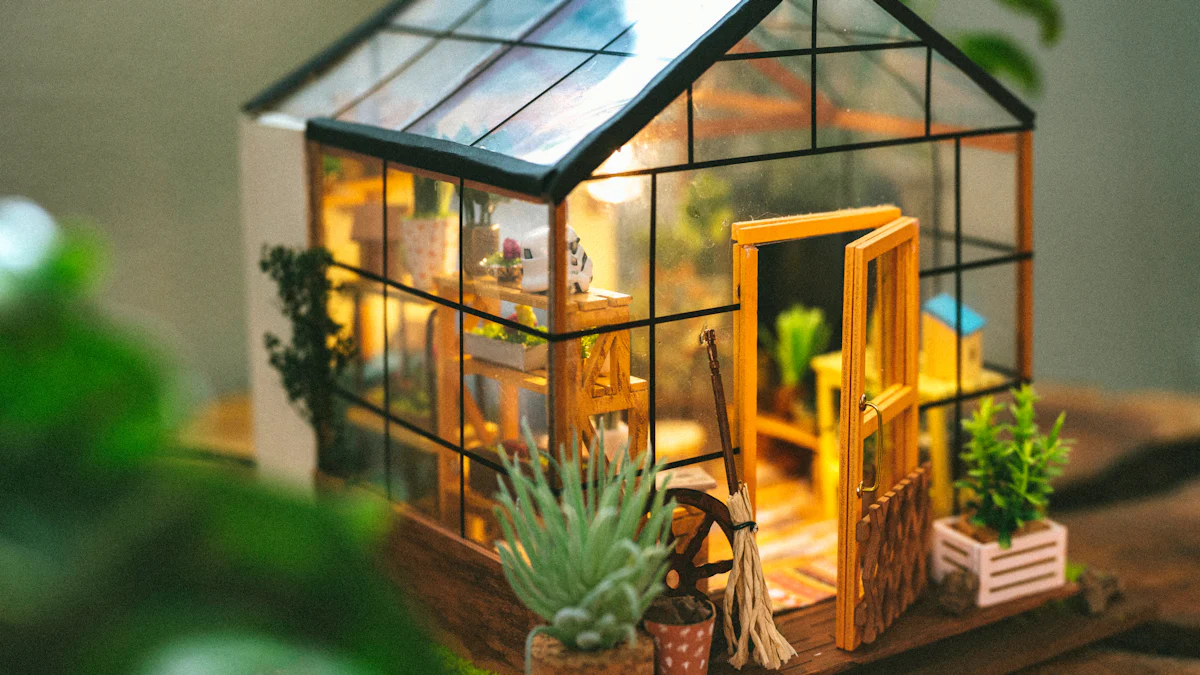
Imagine stepping into your backyard and harvesting fresh vegetables or vibrant flowers, no matter the season. A backyard greenhouse makes this possible, offering year-round gardening and significant cost savings. You can grow your favorite plants while cutting down on grocery bills. Plus, it’s a great way to repurpose materials like old windows for walls or plastic bottles for insulation. Building a greenhouse doesn’t have to break the bank. With a little creativity and planning, you can create a space that’s both functional and affordable.
Key Takeaways
Pick a sunny spot protected from strong winds for your greenhouse.
Use old windows or plastic sheets to save money and build creatively.
Clean and fix your greenhouse often to avoid big repairs later.
Add shelves and storage to use space better and stay organized.
Set up automatic watering and temperature controls to save time and effort.
Planning Your Backyard Greenhouse
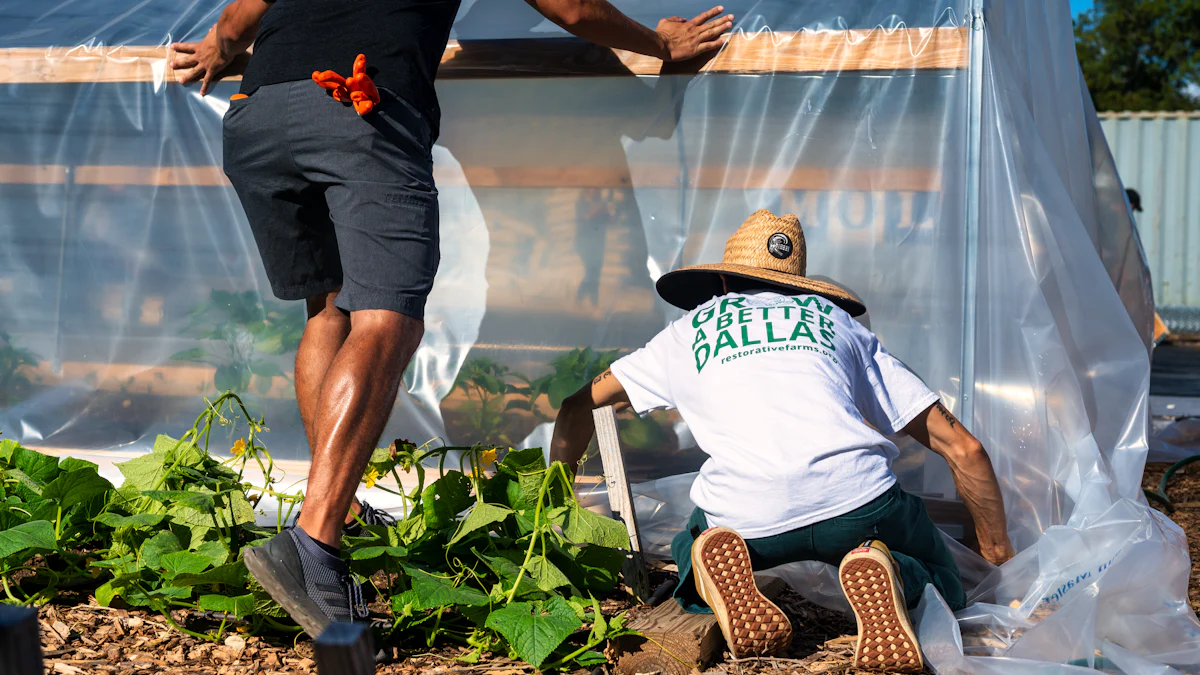
Choosing the Location
Picking the right spot for your greenhouse is key to its success. You want to make sure it gets plenty of sunlight—at least six hours a day. A south-facing location works best for maximizing sunlight exposure. Avoid placing it near tall trees, fences, or buildings that might cast shadows.
Think about wind exposure too. A spot sheltered from strong winds will help maintain a steady temperature inside. If your yard is prone to gusts, consider adding a windbreak like a hedge or fence. Also, avoid areas where frost tends to settle, as this can harm your plants. For extra insulation, you can protect the north side of your greenhouse to reduce heat loss. Lastly, choose a spot that complements your garden and adds to its overall aesthetic.
Selecting the Greenhouse Design
When it comes to design, you’ve got options. A-frame greenhouses are simple and budget-friendly, while hoop houses are lightweight and easy to build. If you’re short on space, a lean-to greenhouse that attaches to your home or garage could be perfect.
Think about what you’ll grow and how much space you’ll need. If you’re planning to grow tall plants like tomatoes, make sure the design allows enough headroom. For smaller plants or seedlings, a compact design will do the trick. Keep it simple if this is your first DIY greenhouse project. You can always expand or upgrade later.
Sourcing Affordable Materials
Building a greenhouse on a budget means getting creative with materials. Plastic is a popular choice for covering because it’s lightweight, flexible, and affordable. You can find plastic covers for as little as $200 for smaller greenhouses. However, keep in mind that plastic may need replacing over time.
For the frame, consider using PVC pipes or repurposed wood. Old windows or sliding glass doors can make excellent walls, giving your greenhouse a rustic charm. Check local hardware stores or online marketplaces for deals on materials. You might even find free or low-cost items through community groups or recycling centers. Using recycled materials not only saves money but also makes your project more eco-friendly.
How to Build a Greenhouse

Constructing the Frame
Building the frame is the backbone of your greenhouse structure. Here’s how to do it step by step:
Build the Foundation: Start by clearing the area of topsoil. Level and compact the dirt to create a stable base. Use landscaping timbers to form a mini retaining wall for added support.
Build the Side and Back Walls: Use pressure-treated 2x4s for the bottom plates and cedar 2x4s for the top plates. Mark where the studs will go to ensure even spacing.
Frame the Front Wall: Assemble the front wall, leaving space in the center for the door. This will make it easier to install later.
Anchor the Walls: Secure the walls to the ground using bullet anchors. This step ensures your greenhouse can withstand wind and weather.
Repeat Parts With a Template: Create a template for cutting rafters and assembling trusses. This saves time and ensures uniformity.
Assemble Gable Walls: Follow the same process as the trusses. Make sure collar ties and cripples fit properly for added stability.
Using a lean-to greenhouse design? Attach the frame directly to your home or garage for extra support and insulation. For a DIY approach, PVC pipes are a lightweight and affordable option.
Adding the Covering
Choosing the right greenhouse covering is crucial for durability and cost-effectiveness. Here’s a quick comparison of popular options:
Material Type | Durability | Cost-Effectiveness |
|---|---|---|
Glass | Can break but lasts many years | More expensive upfront |
UV-resistant polycarbonate | Durable, retains heat, less expensive than glass | Warranties up to 15 years |
Plastic sheeting | Lightweight, inexpensive, less durable | Needs replacement once a year |
For a budget-friendly option, greenhouse plastic sheeting is a great choice. It’s lightweight and easy to install. Simply drape the plastic over the frame and secure it with clips or staples. If you’re using a greenhouse kit, follow the manufacturer’s instructions for attaching the covering.
Installing Doors and Ventilation
Proper doors and ventilation keep your greenhouse functional and your plants healthy. Here are some best practices:
Aspect | Best Practice |
|---|---|
Fan Sizing | Fans should provide one volume air exchange per minute for summer ventilation. |
Fan Location | Install fans on one end wall with louvers on the opposite end for effective air movement. |
Maintenance | Motorized vent controllers should be cleaned and lubricated several times a year. |
Vent Adjustment | Vents should close evenly and tightly before the heating season to prevent heat loss. |
Intake Area | The intake louver area should be at least 1 1/4 times the fan area for adequate air supply. |
Thermostat Control | Use two-stage thermostats for energy savings and better control of temperature. |
Install a sturdy door that seals tightly to maintain temperature control. For ventilation, place fans on one end of the greenhouse and louvers on the opposite side. This setup ensures proper airflow. If you’re using a lean-to greenhouse, consider adding vents near the roofline for natural heat escape.
Cost-Saving Tips for Building a Greenhouse
Using Recycled Materials
Recycled materials can save you money and make your greenhouse more eco-friendly. You’d be surprised at how many items you can repurpose for this project. Here are some creative ideas:
Use plastic sheeting from recycled plastics as a lightweight and affordable roofing material.
Incorporate second-hand wood for the frame and structural elements. It’s sturdy and gives your greenhouse a rustic charm.
Repurpose old windows or sliding glass doors for the walls. They’re perfect for letting in sunlight.
Try galvanized steel perforated strips for brackets. These recycled materials ensure structural integrity while keeping costs low.
Check local recycling centers, online marketplaces, or community groups for free or low-cost materials. Not only will you save money, but you’ll also reduce waste and give new life to old items.
DIY vs. Pre-Made Components
When deciding between a DIY greenhouse and pre-made components, it’s all about balancing cost and convenience. Here’s a quick breakdown:
DIY greenhouses let you use repurposed materials, significantly lowering costs. You can customize the design to fit your space and needs.
Pre-made kits range from a few thousand to several thousand dollars. They often include warranties and customer support, which can save you money on future repairs.
Pre-built options are durable, reducing the need for frequent repairs. This makes them a cost-effective long-term investment.
If you enjoy hands-on projects and want to save money upfront, a DIY greenhouse is the way to go. But if you prefer convenience and long-term durability, a pre-made kit might be worth the investment.
Long-Term Savings Strategies
Once your greenhouse is up and running, you’ll want to keep operating costs low. Here are some tips to help you save in the long run:
Perform regular maintenance to prevent small issues from turning into costly repairs.
Clean the greenhouse components to maintain functionality and avoid pest or disease buildup.
Use integrated pest management (IPM) strategies to minimize pest infestations without spending a fortune.
Monitor electricity usage and invest in energy-efficient systems like LED grow lights.
Harvest rainwater and use efficient irrigation methods to cut down on water expenses.
Automate tasks like watering and temperature control to save time and reduce labor costs.
By staying proactive and making smart choices, you’ll enjoy a productive greenhouse without breaking the bank.
Customizing a Greenhouse
Adding Shelving and Storage
Shelving and storage are game-changers when it comes to making the most of your greenhouse. Adding shelves lets you grow vertically, which means you can fit more plants without taking up extra floor space. This setup also improves air circulation and ensures sunlight reaches every corner of your garden. It’s a win-win for your plants!
You can use sturdy wooden planks, metal racks, or even repurposed materials like old pallets to create shelves. Place taller plants on the floor and smaller ones on the upper levels to maximize light exposure. Don’t forget about storage! Hooks, bins, or small cabinets can keep your tools, pots, and fertilizers organized. This way, everything you need is within arm’s reach, making your gardening process smoother and more enjoyable.
Installing Lighting and Heating
Lighting and heating are essential for maintaining the right environment in your greenhouse, especially during colder months or cloudy days. LED grow lights are a fantastic option. They’re energy-efficient, long-lasting, and provide the right spectrum of light for plant growth. Position the lights above your plants to mimic natural sunlight.
For heating, consider small electric heaters or heat mats for seedlings. If you’re looking for a budget-friendly option, try using thermal mass, like water barrels, to store heat during the day and release it at night. Proper insulation, such as sealing gaps or using bubble wrap on windows, can also help maintain a steady temperature. With the right setup, you’ll create a cozy space where your plants can thrive year-round.
Personalizing the Space
Your greenhouse should reflect your personality and gardening style. Think of it as your little oasis! Add the plants you love most, whether it’s vibrant flowers, fresh herbs, or leafy greens. Decorate with colorful pots, hanging baskets, or even a small seating area where you can relax and enjoy your hard work.
You can also customize your DIY greenhouse with practical touches. Install a chalkboard or whiteboard to jot down planting schedules or notes. Add a small workbench for potting plants or organizing seeds. If you want to build a mini greenhouse within your larger structure, use clear plastic bins or cloches to create microclimates for delicate plants. The possibilities are endless, so let your creativity shine!
Maintaining and Using Your Greenhouse
Cleaning and Repairs
Keeping your greenhouse in top shape ensures it lasts for years and stays productive. Regular maintenance doesn’t have to be overwhelming if you follow these steps:
Inspect and clean your greenhouse regularly. Dust, debris, and algae can block good light and reduce efficiency. Wipe down surfaces and remove any buildup.
Check your climate control systems. Make sure fans, vents, and heaters work properly. Calibrate them as needed to maintain the right environment.
Manage pests and diseases. Use integrated pest management techniques to keep infestations under control.
Inspect the structure for damage. Look for cracks, loose screws, or warped frames. Fix these issues promptly to avoid bigger problems.
Maintain your irrigation system. Check for leaks and ensure water is distributed evenly to prevent excess moisture buildup.
Prepare for seasonal changes. Reinforce insulation in winter and clean vents for summer airflow.
By staying on top of these tasks, you’ll protect your investment and create a thriving space for your plants.
Managing Temperature and Humidity
Temperature and moisture control are crucial for a healthy greenhouse environment. Here’s how you can manage them effectively:
Use ventilation and heating systems to regulate temperature. Open windows or doors during hot months and use heaters in colder seasons.
Install anti-drip plastic to reduce moisture on leaves. This prevents fungal diseases and keeps plants healthy.
Incorporate shade curtains during high temperatures. These block 30-50% of sunlight and help maintain a cooler space.
Try bottom heat or heat mats for young plants. These keep soil warm and encourage growth.
Use smart controllers to automate temperature and humidity adjustments. They save time and ensure consistent conditions.
A well-managed environment helps your plants thrive and reduces the risk of disease.
Maximizing Productivity
To get the most out of your greenhouse, focus on strategies that boost plant growth and efficiency:
Monitor environmental factors like light, temperature, and CO2 levels. Adjust them to create optimal growing conditions.
Use LED grow lights to supplement natural sunlight. These provide good light and extend growing hours.
Automate irrigation for precise water delivery. This prevents overwatering and ensures plants get what they need.
Rotate crops and select plants suited to your region. In Texas, tomatoes, peppers, herbs, cucumbers, and lettuce thrive in a greenhouse.
Prune and train plants to improve air circulation and light penetration. This encourages healthier growth and higher yields.
By combining these techniques, you’ll maximize your greenhouse’s potential and enjoy a bountiful harvest.
Building your own greenhouse doesn’t have to feel overwhelming. Let’s recap the key steps to get you started:
Use recycled materials to save money and add a personal touch.
Choose the right size to balance functionality and cost.
Insulate effectively with simple techniques like bubble wrap.
Set up a rainwater collection system to water your plants sustainably.
With these steps, you’ll create a space that’s perfect for growing your favorite plants. Whether it’s fresh herbs, vibrant flowers, or leafy greens, a greenhouse opens up endless possibilities. Start small, get creative, and enjoy the rewards of year-round gardening. With a little effort, you’ll have a beautiful and functional greenhouse that fits your backyard and your budget.
🌱 Ready to dig in? Your dream greenhouse is just a weekend project away!
FAQ
What type of soil should I use in my greenhouse?
Choose nutrient-rich soil that drains well. Products like sandy loam or compost-enriched soil from soilbuildingsystems.com work great. These options provide the right balance of nutrients and moisture for your plants to thrive.
Can I grow plants from seeds in my greenhouse?
Absolutely! Greenhouses are perfect for starting plants from seeds. Use seed trays or small pots with quality soil. Keep the temperature consistent and water lightly to encourage germination. You’ll see those tiny sprouts in no time!
What tools do I need to build a greenhouse?
You’ll need basic tools like a hammer, drill, saw, and measuring tape. Local hardware stores often carry affordable greenhouse kits, PVC pipes, and plastic sheeting. These materials make construction easier and budget-friendly.
What plants grow best in a Texas greenhouse?
In Texas, plants like tomatoes, peppers, cucumbers, herbs, and lettuce thrive in a greenhouse. These crops love the warm, controlled environment and grow well year-round with proper care.
How do I keep my greenhouse warm in winter?
Use small electric heaters or thermal mass like water barrels to store heat. Insulate with bubble wrap or weatherproofing tape. This keeps your greenhouse cozy and ensures your seeds and plants stay healthy during colder months.


Leave A Comment