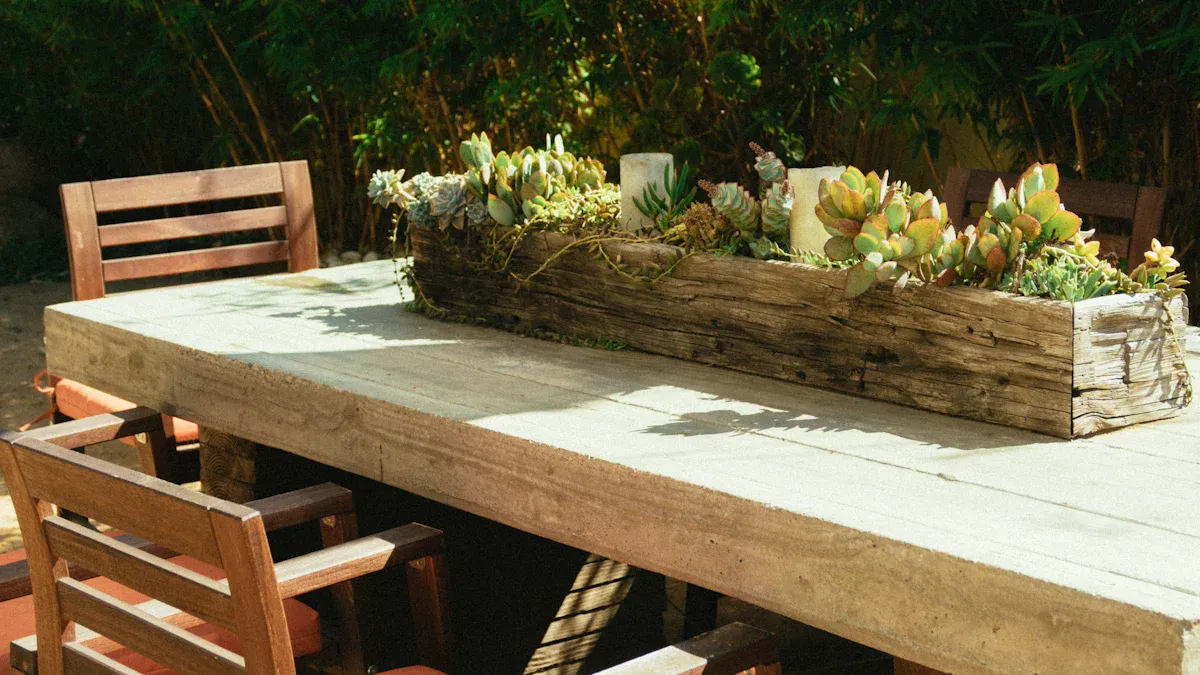
Building your own planter box is a fantastic way to save money while adding a personal touch to your garden. Pre-made planters can be pricey, but DIY planters let you use affordable materials and tools to create something unique. Plus, the process is incredibly satisfying! Imagine crafting a tiered herb garden for your kitchen or designing a rustic farmhouse-style planter with reclaimed wood. You can even carve patterns or add trim for a one-of-a-kind look.
Don’t worry if you’re new to woodworking. This project is beginner-friendly and rewarding. Gather your tools, pick your materials, and let’s get started on your custom creation!
Key Takeaways
Making your own planter boxes costs less and feels personal.
Collect tools like a saw, drill, and tape measure to help.
Pick strong wood like cedar or redwood for long-lasting planters.
Measure carefully and keep your workspace neat for better results.
Add fun features like handles or trellises to make them useful and pretty.
Tools and Materials for DIY Planters
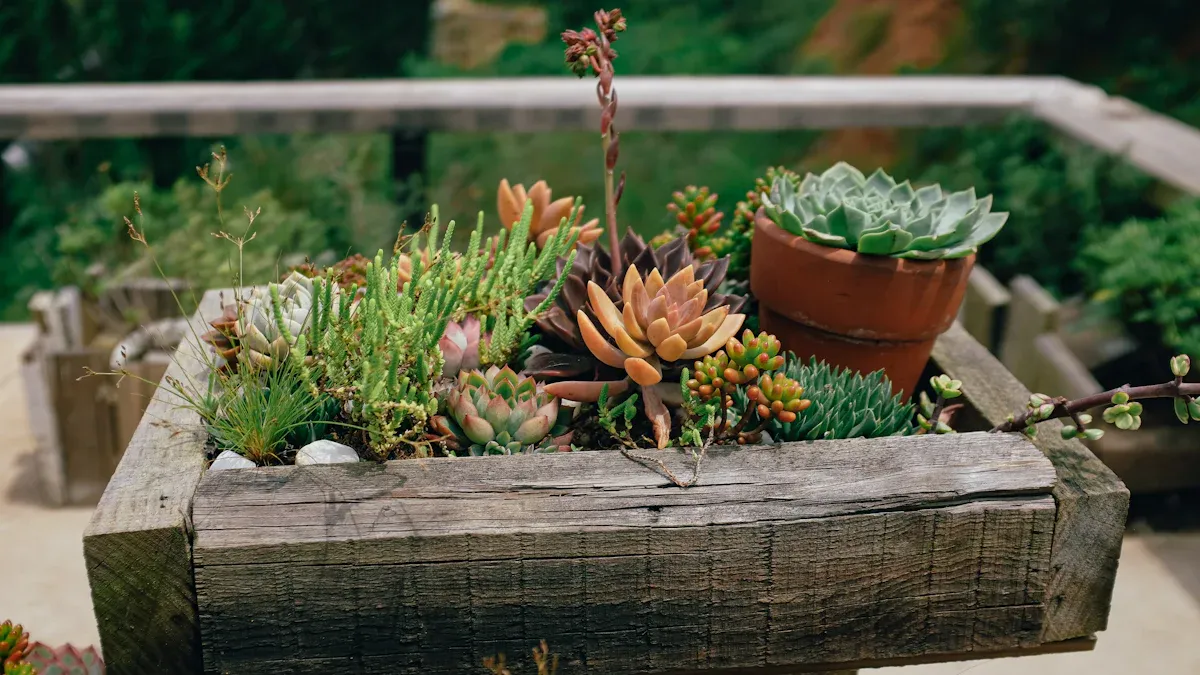
Before you start building your DIY planters, it’s important to gather the right tools and materials. Having everything ready will make the process smoother and more enjoyable. Let’s break it down into what you’ll need.
Essential Tools
You don’t need a professional workshop to create beautiful planter boxes. Most of the tools required are common household items or easy to find at your local hardware store. Here’s a list to get you started:
Circular saw or miter saw (for precise cuts)
Electric drill with drill and screwdriver bits
Measuring tape
Carpenter’s square (to ensure straight edges)
Pencil (for marking measurements)
Sanding blocks or a power sander (for smooth finishes)
Paintbrush or stain applicator (if you plan to finish the wood)
Hammer (optional, if you prefer nails over screws)
Pro Tip: Drilling pilot holes before inserting screws can prevent the wood from splitting. This step is especially helpful if you’re using softer woods like pine.
If you’re new to woodworking, don’t worry! These tools are beginner-friendly, and you’ll get the hang of them quickly.
Materials Needed
Choosing the right materials is just as important as having the right tools. The type of wood you select will determine the durability and appearance of your planter box. Here are some popular options:
Cedar and Redwood: These are naturally rot-resistant and require minimal maintenance. They’re perfect for outdoor planters and will last for years.
Pine: A budget-friendly choice, though less durable. Treating the wood can help it last longer.
Treated Lumber: Avoid this for edible plants, as chemicals may leach into the soil.
To extend the life of your DIY planters, consider elevating them off the ground using concrete blocks or pressure-treated wood. This improves drainage and prevents moisture damage.
Note: If you’re building a planter for vegetables or herbs, cedar is a great balance between cost and safety. It’s durable and free from harmful chemicals.
With these tools and materials, you’re all set to start building your custom planter box. Let’s move on to preparing your workspace and cutting the wood to size!
Preparation for Building DIY Planters
Choosing the Right Wood
Picking the right wood is key to building durable and attractive planter boxes. Some types of wood are better suited for outdoor use because they resist rot and weather damage. Here are a few great options:
Cedar: This wood is naturally rot-resistant and smells amazing. It weathers beautifully over time, making it a favorite for outdoor projects. While it can be a bit pricey, its durability makes it worth the investment.
Redwood: Known for its striking appearance and excellent durability, redwood is another top choice. It’s resistant to rot and decay but may require occasional maintenance to keep its vibrant color.
Teak: If you’re looking for something that can handle all kinds of weather, teak is a fantastic option. It’s incredibly durable, though it’s heavier and more expensive than other woods.
For DIY planters, cedar is often the best balance between cost, durability, and ease of use. It’s also safe for growing vegetables and herbs.
Measuring and Cutting
Accurate measurements are the foundation of a well-built planter box. Start by deciding the size of your planter. Will it hold small herbs, or do you want something large enough for flowers or vegetables? Once you’ve decided, grab your measuring tape and mark the dimensions on your wood.
Use a pencil to draw clear lines where you’ll make your cuts. A carpenter’s square can help you keep those lines straight. When cutting, a circular saw or miter saw works best for clean, precise edges. If you’re new to using power tools, take your time and double-check your measurements before cutting.
Tip: Measure twice, cut once! This simple rule can save you from wasting materials.
Setting Up Your Workspace
A well-organized workspace makes the building process smoother and safer. Choose a flat, sturdy surface like a workbench or a table. If you’re working outdoors, make sure the area is free of clutter and debris.
Keep your tools within easy reach to avoid unnecessary trips back and forth. Safety is also important. Wear protective gear like safety goggles and gloves, especially when cutting or drilling. If you’re working indoors, ensure proper ventilation, especially if you plan to paint or stain your planter later.
Pro Tip: Lay down a tarp or drop cloth to catch sawdust and protect your floors or lawn. Cleanup will be much easier!
With your wood selected, measured, and workspace ready, you’re all set to start assembling your DIY planter. Let’s move on to building the frame!
Step-by-Step Assembly of DIY Planters
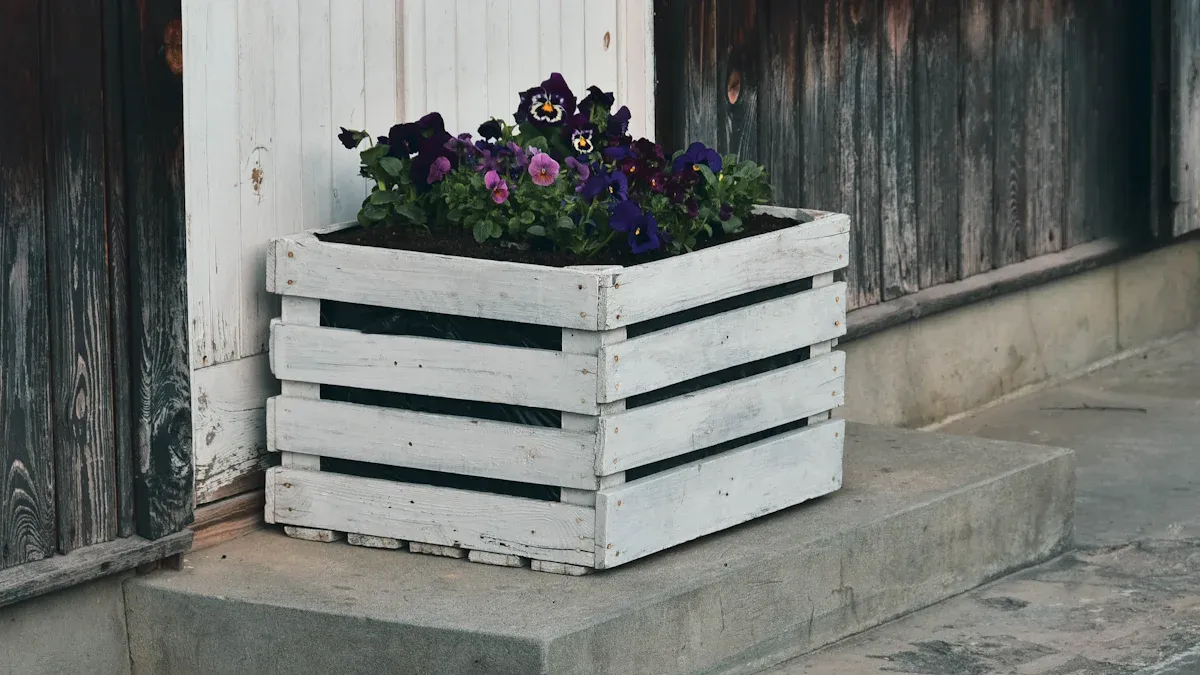
Building the Frame
Now it’s time to bring your planter box to life! Start by assembling the frame. Follow these steps to ensure a sturdy structure:
Assemble the Long Sides: Attach four long slats to two legs using 1.25-inch exterior screws. This creates the two long sides of your planter.
Attach the Side Slats: Secure the side slats to one of the pre-assembled long sides. Make sure they’re square and perpendicular for a clean look.
Assemble All Four Sides: Position the second pre-assembled long side and attach all eight slats to complete the box frame.
Add Battens: Attach a batten in the center of each long side. This prevents the wood from bowing over time.
Take your time with this step. A well-built frame is the foundation of a durable planter box.
Adding the Bottom
Once the frame is ready, it’s time to add the bottom. This step ensures your planter can hold soil securely.
Attach four bottom rails at an angle inside the frame. These rails will support the weight of the soil.
Secure the bottom slats to the rails using wood glue and screws. Space the slats slightly apart to allow for drainage.
Tip: Use a level to check that the bottom is even. This helps prevent water from pooling in one spot.
Creating Drainage
Proper drainage is essential for healthy plants. Without it, water can collect and damage the roots. Here are some effective methods:
Drill drainage holes in the bottom slats.
Line the bottom with a 20-mil plastic sheet or EPDM food-grade pond liner. Make sure to cut holes in the liner to match the drainage holes.
For added convenience, you can keep plants in pots inside the planter. This makes it easier to manage water flow.
Note: Avoid using regular garden soil. Instead, opt for potting soil designed for better drainage.
With the frame, bottom, and drainage complete, your DIY planter is almost ready for finishing touches!
Finishing Touches for DIY Planters
Sanding and Smoothing
Before you move on to decorating your planter, take some time to sand the wood. This step makes the surface smooth and safe to handle. Use sanding blocks or a power sander to remove rough edges and splinters. Start with coarse-grit sandpaper (around 80-grit) to tackle uneven spots. Then, switch to finer grit (120-150) for a polished finish.
Pay extra attention to the edges and corners. These areas are often the roughest and can cause splinters. If you’re working with reclaimed wood, sanding also helps remove dirt or old finishes. Once you’re done, wipe the surface with a damp cloth to remove dust.
Tip: Sanding not only improves the look of your planter but also helps paint or stain adhere better.
Painting, Staining, or Sealing
Now comes the fun part—adding color or protection to your planter! You can paint, stain, or seal the wood, depending on the look you want.
Paint: Choose outdoor-grade paint for vibrant colors that pop. Paint works well if you want to match your planter to your garden decor.
Stain: A wood stain enhances the natural grain and gives a rustic or elegant finish.
Sealant: Use a clear wood sealant to protect the wood while keeping its natural appearance.
Apply your chosen finish with a brush or roller. Let it dry completely before adding soil or plants. For outdoor planters, consider using a weatherproof finish to extend their lifespan.
Pro Tip: Apply two coats of paint or sealant for better durability.
Adding Functional Features
Take your DIY planter to the next level by adding practical features. Here are a few ideas:
Handles: Attach sturdy handles to make moving the planter easier.
Wheels: Add caster wheels to the bottom for mobility, especially for larger planters.
Trellis: Install a trellis for climbing plants like tomatoes or ivy.
These small additions can make your planter more versatile and user-friendly. Plus, they add a touch of creativity to your design.
With these finishing touches, your DIY planter is ready to shine in your garden or patio.
Tips and Customization for DIY Planters
Enhancing Aesthetics
Want to make your DIY planters stand out? There are plenty of creative ways to enhance their look. You can experiment with unique designs like tiered planters or hanging boxes. These not only save space but also add a dynamic visual element to your garden. Upcycling materials is another fun option. Try using old tires, wine barrels, or even rain gutters for an eco-friendly twist.
If you prefer a rustic vibe, reclaimed wood is a fantastic choice. You can carve floral patterns or geometric shapes into the wood for added charm. Painting your planter boxes to match your surroundings or applying a stain finish for a natural look can also elevate their appearance.
Tip: A tiered herb garden not only looks great but also makes harvesting your herbs super convenient!
Improving Functionality
Adding functional features to your planter boxes can make gardening easier and more enjoyable. Handles are a simple addition that allows you to move your planters around with ease. For larger planters, consider attaching caster wheels to the bottom. This makes them mobile and perfect for rearranging your garden layout.
If you’re growing climbing plants like tomatoes or ivy, installing a trellis is a game-changer. It supports the plants and keeps them organized. You can also line the inside of your planter with a plastic sheet to protect the wood and extend its lifespan.
Pro Tip: Use benches with built-in planters for a multi-purpose solution that saves space and adds seating to your garden.
Adapting to Your Space
No matter how small or irregular your space is, you can adapt your DIY planters to fit perfectly. Tall planters are great for maximizing vertical space and making small areas feel larger. Rectangular or linear planters work well along walls or railings, helping to define spaces and even create privacy.
For balconies or tight corners, wall-mounted planters or shelves free up floor space while adding greenery. You can also layer your planters by placing larger ones at the back and smaller ones in front. This creates depth and visual interest.
Note: If you’re short on space, benches with integrated planters are a clever way to combine functionality and style.
Building DIY Planters is a simple and rewarding project that anyone can tackle. By following the steps, you’ll create something functional and beautiful for your garden, patio, or even indoor spaces. Whether you’re growing vibrant geraniums, cascading ivy, or a simple herb garden, planter boxes offer endless possibilities. They’re cost-effective, customizable, and versatile enough to fit any space.
So, grab your tools and start building! You’ll not only save money but also enjoy the satisfaction of crafting something unique for your plants to thrive in. 🌱
FAQ
What type of wood is best for outdoor planters?
Cedar and redwood are excellent choices. They resist rot and weather damage, making them durable for outdoor use. If you’re on a budget, pine works too, but treat it to extend its life.
Tip: Avoid treated lumber for edible plants to keep your soil chemical-free.
How do I prevent my planter box from rotting?
Elevate your planter off the ground to improve drainage. Use rot-resistant wood like cedar or apply a weatherproof sealant. Adding a liner inside the box also protects the wood from moisture.
Can I build a planter box without power tools?
Yes, you can! Use a handsaw for cutting and a hammer with nails instead of screws. It might take a little longer, but it’s totally doable.
Pro Tip: Pre-drill holes with a manual drill to make nailing easier.
How do I ensure proper drainage for my plants?
Drill small holes in the bottom of your planter. Space them evenly to allow water to escape. You can also add a layer of gravel or use a liner with drainage holes for extra protection.
Can I customize the size of my planter box?
Absolutely! Measure the space where you’ll place the planter and adjust the dimensions accordingly. Whether it’s a small herb box or a large vegetable planter, you can tailor it to fit your needs.
Note: Double-check your measurements before cutting to avoid mistakes.


Leave A Comment